In the below articles, we have learnt how to create Virtual Machine using the default configurations.
- Create A New Virtual Machine Using The New Azure Management Portal
- Azure Portal – Create Virtual Machine With SQL Server
In both the articles, as shown below, we have used IP Address to connect to the Virtual Machine using RDP protocol.

By default, the IP Address that we have used are dynamic IP Addresses. That means, Azure could use the same IP Address to some other machine at any point of time. For example, when we Stop (Deallocate) the Virtual Machine and then start the same, we might see a different IP Address. In case if you see the same IP Address again after starting the Virtual Machine, it’s just your luck. This is definitely going to break your references of the IP Address of a given Virtual Machine. The only way to get rid of this is to convert the Dynamic IP Address to a Static IP Address. In this article, we will discuss how to convert a Dynamic IP Address to a Static IP Address.
Below is the screen capture of the Overview tab of the Virtual Machine that I just created.
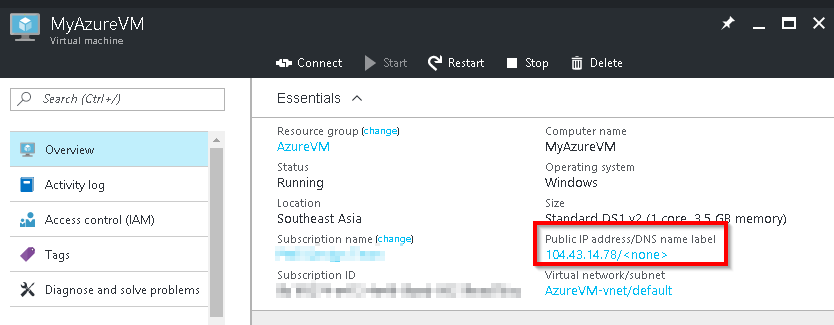
Click on the IP Address shown in the above screen capture. You will be taken to the following blade of the IP Address settings.
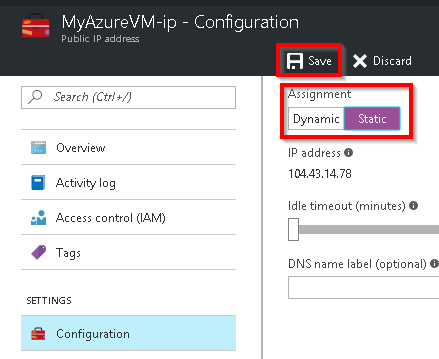
By default, the Assignment is Dynamic. I just updated it to Static and clicked on Save.
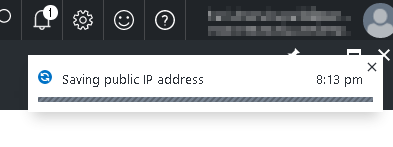
Clicking on Save button will start the process of saving the changes as shown below.
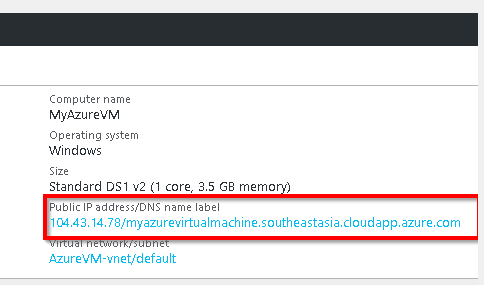
After a few seconds, the changes get reflected and you can view the changes in the Virtual Machine’s Overview blade as shown below.

DNS Name Label:
You can also assign a DNS Label to your IP Address by providing a DNS name in the DNS Name Label section of the IP Address Configuration blade as shown below.

Once you provide a unique name, click on Save button to save the changes. You can view the DNS name Label in the Virtual Machine’s Overview blade as shown below.
You can also use the DNS Name to do a remote desktop as shown below. This feature comes in very handy if you don’t want to refer the IP Address of your Virtual Machine in any of your work for example, while configuring your Load Balancers, in your code’s configurations, Custom Domains etc.

Other Important Notes:
- You have created a Static Public IP Address which also means you have created an Azure ARM object (Public IP Address) that is accessible over internet.
- The first 5 Static Public IP Addresses per region are free as per the IP Address Pricing of Azure Documentation. Reference: https://azure.microsoft.com/en-us/pricing/details/ip-addresses/
- You can create 20 Public Static IP Addresses and 60 Public Dynamic IP Address Per region per subscription of this writing. For more details and latest information, please check the official documentation at Azure subscription and service limits, quotas, and constraints
That’s it. Hope you enjoyed reading the article. Your feedback is appreciated.
Summary:
In this article, we have learnt the following.
- Converted a Dynamic IP Address to a Static IP Address
- Created a DNS Label for an IP Address
Do you like this article? If you want to get more updates about these kind of articles, you can join my Learning Groups

One comment