In our previous articles (listed below), we have learnt about Azure Storage and all the services that it provides.
In this article, we will learn more about Azure File Storage.
Introduction about Azure File Storage
Many of us are familiar with either Dropbox or OneDrive for storing our files in the cloud and also to share and sync the same across multiple devices.
Azure also provides similar service called Azure File Storage wherein we can create File Shares using SMB protocol.
You could also use Azure File Share when you are planning to migrate your legacy Stateful applications that use File system for storing and retrieval of files like Excel, Word etc. without making changes to your codebase related to System.IO namespace.
In this series of articles, we will learn how to create an Azure File Share and also store some directories / folders and store few files in those directories as shown below.
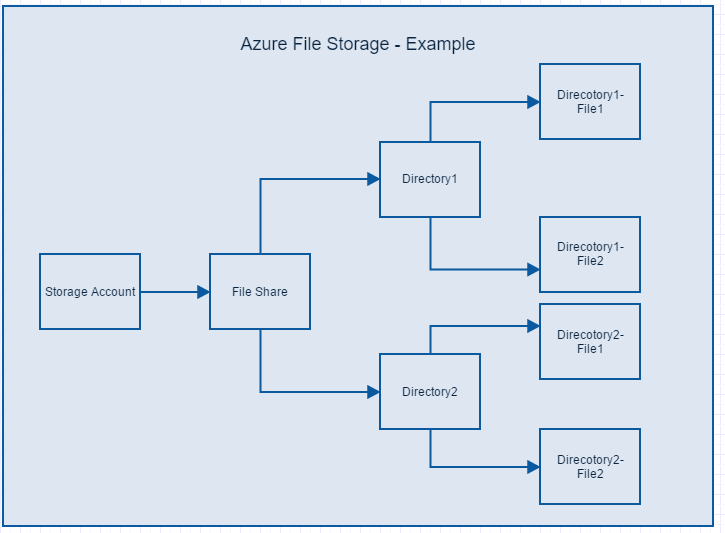
We will learn how to create the following.
- File Share – You can map this file share located in Azure Storage from your local directory on your Windows / Linux / Mac machine.
- Directory – A Logical grouping of file
- File – Actual file. We will upload a sample file from a Windows Machine.
Let’s get Started and create a File Share using our favorite Azure Management Portal.
Navigate to Storage Accounts listing and choose the required Storage Account as shown below.
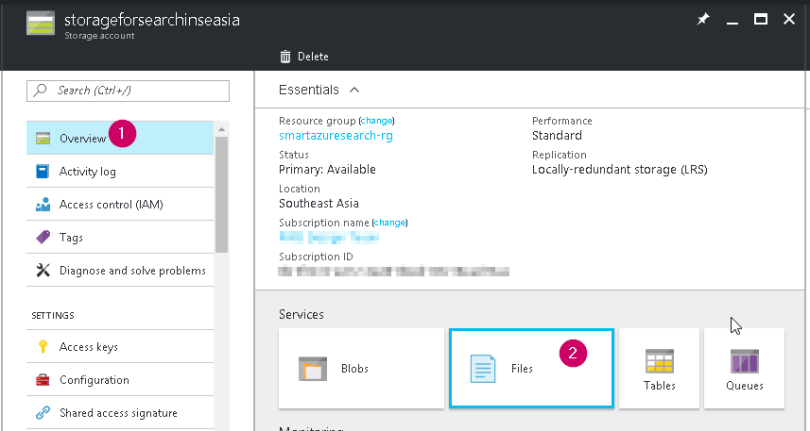
As shown in the above screen capture, select Files to navigate to the listing of all the File Shares as shown below.
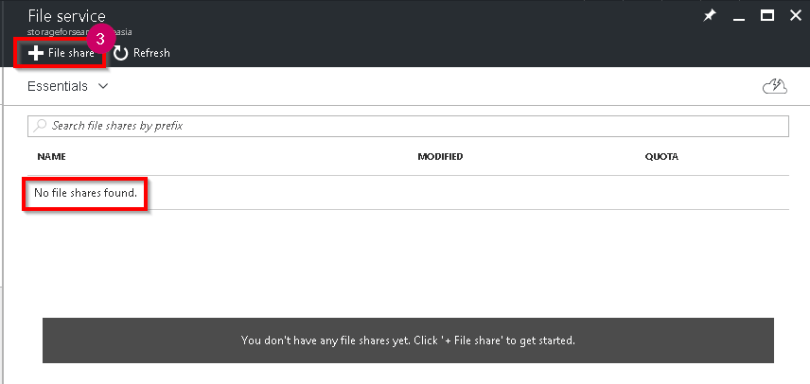
Currently, we don’t have any File Shares in the selected Storage Account. Let’s go ahead and create a new File Service by clicking on + File Share as shown in the above screen capture. You will be taken to the following New file share blade as shown below.
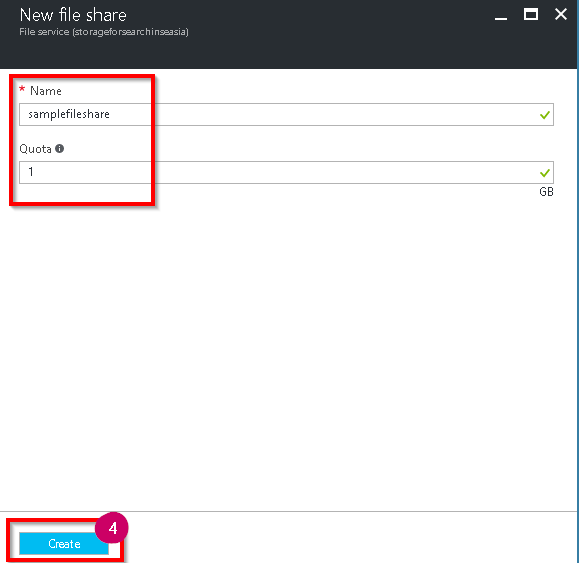
Please provide the following details.
- Name of the File Share
- Quota (Size) that you would like to allocate for this File Share. As shown below, you need to provide the Size in GB. You can store up to 5 TB in each File Share.

Once you provide the details, click on Create button. That’s it. We have successfully created a File Share as shown below.
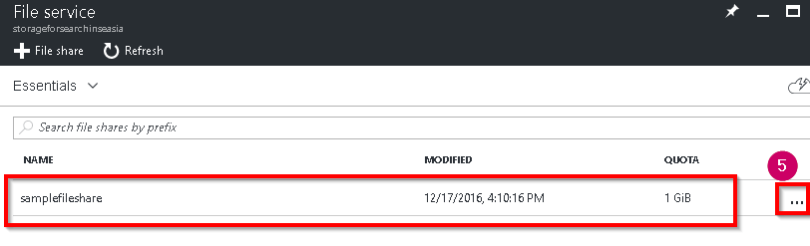
Let’s view the properties of the new File Share named samplefileshare by clicking on the ellipses in the above screen capture.
Clicking on the ellipses, a context menu will be opened as shown below.
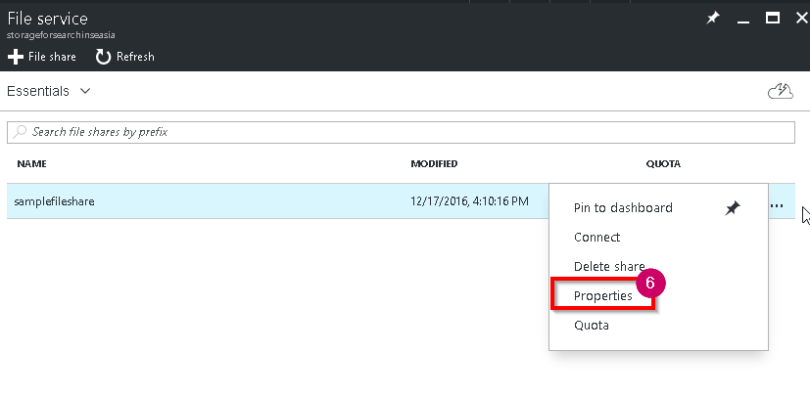
Clicking on the properties link in the above screen capture, you will be taken to the following Share Properties blade where you can view the properties of the File Share. Please note the important File Share property “URL”
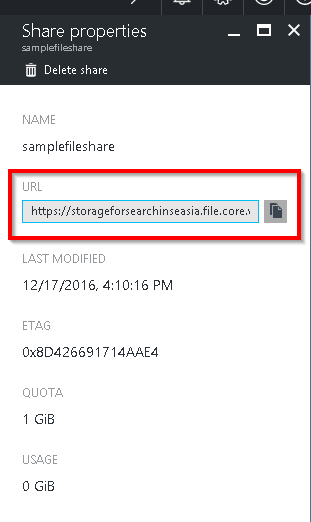
Below is how the File Share URL is formed.
https://<<Storage Account Name>>.file.core.windows.net/<<FileShare name>>
Summary: In the article, we have learnt the following.
- Understood about one of the Azure Storage Services called File Share
- How to create a File Share and its Size.
- Structure of the File Share URL which could be used while using the File Share programmatically.
Hope you enjoyed reading the article. Your feedback is really appreciated.
Discover more from Praveen Kumar Sreeram's Blog
Subscribe to get the latest posts sent to your email.

Thank you very much ! You have cleared out the difference between them.
LikeLike
Glad that it helped you!
LikeLike