In this article, we will learn how to configure Swashbuckle to you Azure App Service App Apps.
Introduction
If you are from a development background, you might have worked on developing Web Services, APIs etc. multiple times either for your own consumption or for somebody else.
Each time, you create an API, the consumer (either you, your colleague or some other external parties) need to write code for consuming the API methods that you have written and exposed based on the API Contracts or Interfaces.
In order to consume, you need to provide them the knowledge about your API methods, it’s parameters and the return types for each and every method that you expose. In short, below are the challenges that one should take care while building the APIs
- Develop the API Methods with the required functionalities
- Provide the details documentation for the following
- Method names
- Input parameters
- Outputs
- Examples of how to invoke the methods.
- Develop the API Client Code to consume the methods.
It would take lot of time for us to generate all of the above each time we develop the API. It would be very nice if there was a tool that does all the above automatically. Right? Yes, there are Open Source API Frameworks could help us in doing all the above (and even more) automatically (or with very minimal configurations). One of such popular frameworks is Swagger.
Swagger: Swagger is a powerful open source framework backed by a large ecosystem of tools that helps you design, build, document, and consume your RESTful APIs.
Ref: http://swagger.io/
In this article, we will learn how to integrate Swashbuckle, a Nuget package for .NET. Swashbuckle is an Open Source Projects that helps us integrate Swagger to our Web API project.
Once you create a Web API project. Install the Swashbuckle Nuget package as shown below.

That’s it. Executing the above Nuget command will configure the Swashbuckle project to our Web API Project.
Below are the functionalities that gets created by the Swashbuckle.
- Provides an UI for testing the Web API functions automatically.
- Discovers all the Controllers and provides us the basic documentation details like MethodName, input types and Output types
Let’s see how to access and review the above features.
Navigate to the following URL.
http://<Base URL of your Web API>/Swagger. Once you type this URL in your browser, you would see something as shown below.
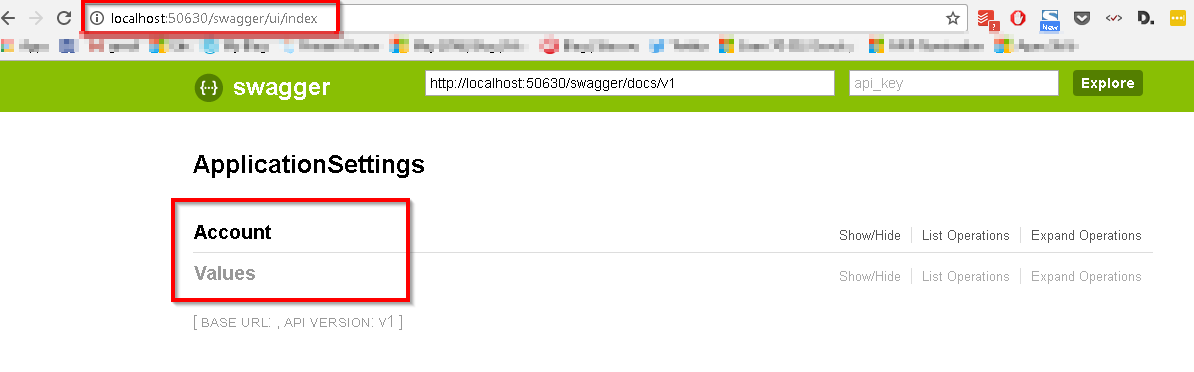
As shown above, the controllers are automatically listed in the Swagger UI.
Click any of the Controllers to view the Methods available in it as shown below.
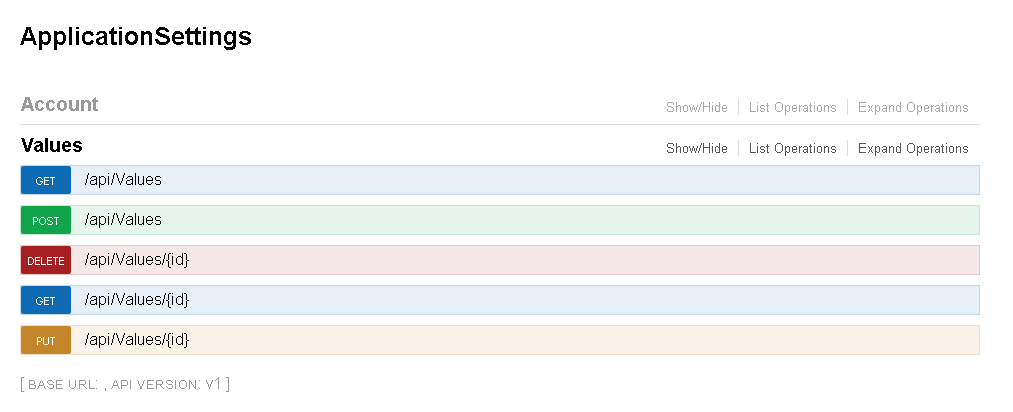
It automatically pulls all the API methods along with the HTTP Methods as shown in the above screen capture.
We can further drill down to view the details of the individual API Methods by clicking on the desired API Method as shown below.

The above features provide the following details.
- Name of the API Method
- Example Input
- Response Content Type so that the we can configure the function that consumes this API Method.
- We can also test it by clicking on the ‘Try it out!’ button.
Clicking on the Try it out! Button will execute the API Method and displays the response of the method as shown below.

It has provided the following details.
- The JSON of the Response Body
- Response Code. In this example, it is 200 which means the call has been successful.
- Response Headers
Summary:
In this article, we have learnt the following.
- What is the Swagger
- What is Swashbuckle – it the Swagger component from Nuget for ASP.NET Web API
- How to install Swashbuckle
- How to navigate to the Swashbuckle UI and explore few of the basic features.
Hope you enjoyed reading the article. Your feedback is appreciated.
Do you like this article? If you want to get more updates about these kind of articles, you can join my Learning Groups
Discover more from Praveen Kumar Sreeram's Blog
Subscribe to get the latest posts sent to your email.
