Objective
In this article, we will learn how to restrict Remote Desktop access (RDP) access to an Azure Virtual Machine from an IP Address
Use Cases
- I use an Azure Virtual machine for Learning & Research. It got comprised recently. I never thought, someone would hack my VM that I use for some testing. It won’t have happened if I had strict security controls on that.
- In your production environment, probably, you have Virtual Machine(s) that needs to be accessed only by a certain IP (Load Balancer, Internal users etc.) so that you can avoid unauthorized access to the Virtual Machine
Pre requisites
- A Valid Azure Subscription. You can create a Free Azure Trail from here.
- Create a Resource Group named vm-rg
- Enable Cloud Shell
Steps for the implementation
Step1 – Create a new Virtual Machine using Cloud shell with the below command.
Once the Cloud Shell is enabled, you can run the below command to create a new Virtual Machine with the name vm1-eastus in the Resource Group named vm-rg
New-AzVm `
    -ResourceGroupName "vm-rg" `
    -Name "vm1-eastus" `
    -Location "East US" `
    -VirtualNetworkName "vm-eastus-vnet" `
    -SubnetName "mySubnet" `
    -SecurityGroupName "myNetworkSecurityGroup1" `
    -PublicIpAddressName "myPublicIpAddress1" `
    -OpenPorts 80,3389
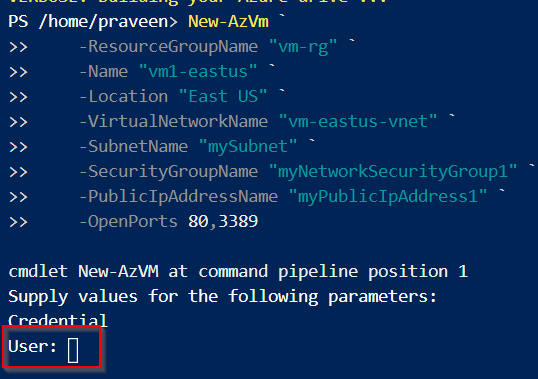
As shown in the above screen capture, Cloud shell will prompt for VM’s Username & Password. Provide a username and a Password and hit enter. It will take a few minutes. Once the process is complete, you should see something as shown below.
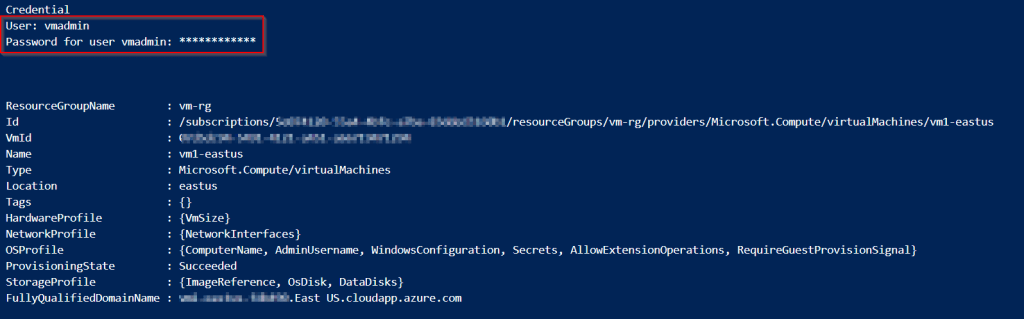
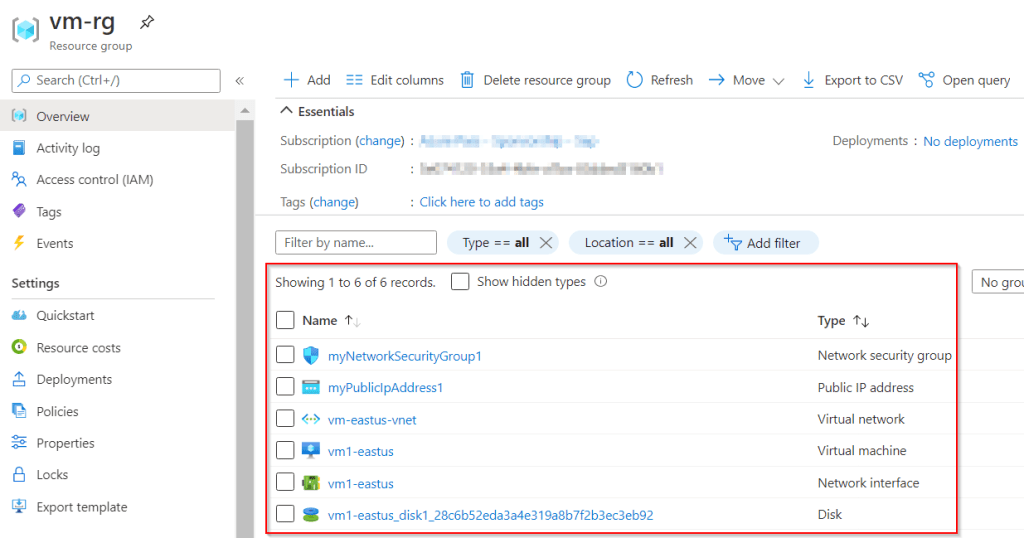
After a few minutes, you can view the Virtual Machine (along with other components) as shown below.
Note: You might have noticed that in the PowerShell command while creating the new VM, we have also opened the ports 80 & 3389. 3389 is the default port for Remote Desktop. Basically, with OpenPorts, a rule in the Network Security Group will be created that allows us to do RDP so that anyone can connect remotely to the Virtual Machine via RDP protocol.
Step2 – Connect to Virtual Machine using RDP
Let’s connect to the vm1-eastus Virtual Machine using Remote Desktop protocol from your machine. For that, you need to copy the IP Address from the Overview blade of the Virtual Machine as shown below.

You will not have any issues connecting to the vm1-eastus from anywhere if the VM is up and running. You can connect from mobile too (if you have appropriate software installed).

What is NSG (Network Security Group)
Network Security Groups is nothing but a set of Rules (Inbound and Outbound) that help in filtering the traffic to and from the Azure resources. (ex: Virtual Machines and Subnets).
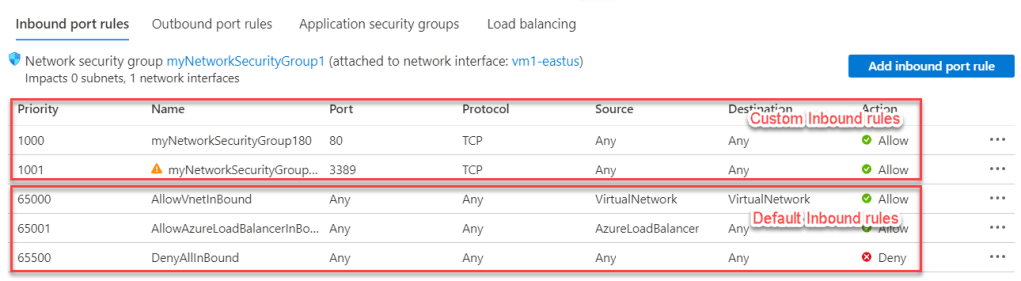
When we create a Virtual Machine, an NSG is also created with default Inbound rules and Outbound rules as shown below which you can’t change. However, you can add new Rules on top of the default rules.
Inbound Rules
Outbound Rules
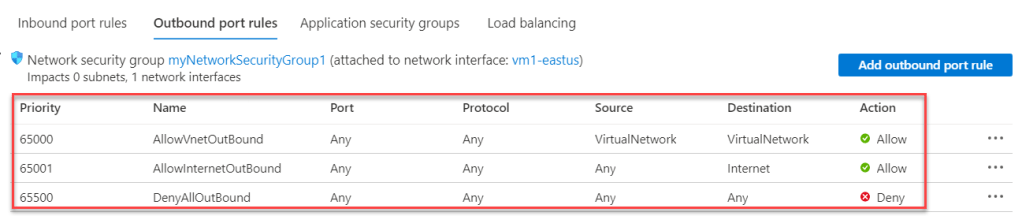
Below is how an NSG is associated with a Virtual Machine by default when you create a Virtual Machine in Azure.

Step 3 – Improve the security by whitelisting only a specific IP Address
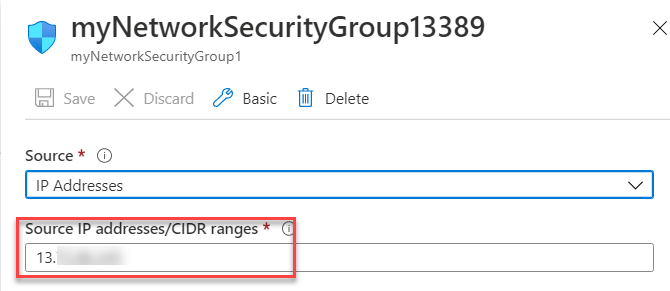
You might have noticed that a custom rule (with port 3389) in the NSG Rules. With this rule, anyone with valid credentials, can connect to the Virtual Machine. Let’s understand how to change the rules to allow only one IP address and block access to others. Navigate to the Inbound rules of the Network Security Group, click on the rule which opens up a popup as shown below. Select IP Addresses in the Source field.

And, now, provide the client IP Address from which you would like to restrict the access as shown below and click on Ok button. You can either whitelist an individual IP Address or a CIDR block as well. As shown below, I have whitelisted an individual IP Address.
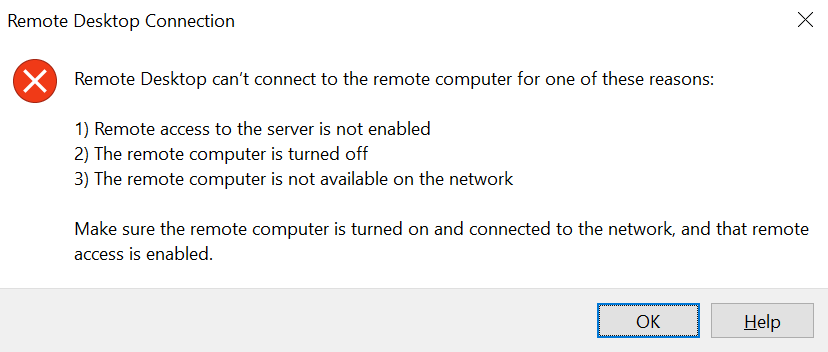
That’s it. We have now secured the Virtual Machine by whitelisting only a given IP Address. If you try to access from any other IP Address, you would not be able to connect and you will see the below error.
Summary:
In this article, we have learnt the following.
- How to create a Virtual Machine using PowerShell and run it in the Cloud Shell.
- How to edit the existing Network Security Group’s inbound rules
- Whitelist an individual IP Address
Do you like this article? If you want to get more updates about these kind of articles, you can join my Learning Groups
Discover more from Praveen Kumar Sreeram's Blog
Subscribe to get the latest posts sent to your email.

what if the virtual machine moved to another subnet ?
LikeLike